


Are you a coach or consultant seeking to supercharge your operational efficiency with smart, systemized back-end processes? Well, guess what? You’re in the right place! 🚀
As a committed coach, your top priority is to deliver value to your clients, but to do that effectively, you have to take advantage of every tool at your disposal — starting with a robust way of organizing client information and booking appointments. Let me take you through a beginner-friendly tutorial on setting up a Customer Relationship Management (CRM) and appointment tracker using SmartSuite. And don’t worry; it’s way easier than it sounds!
Getting Started: Logging In and Picking a Solution Template
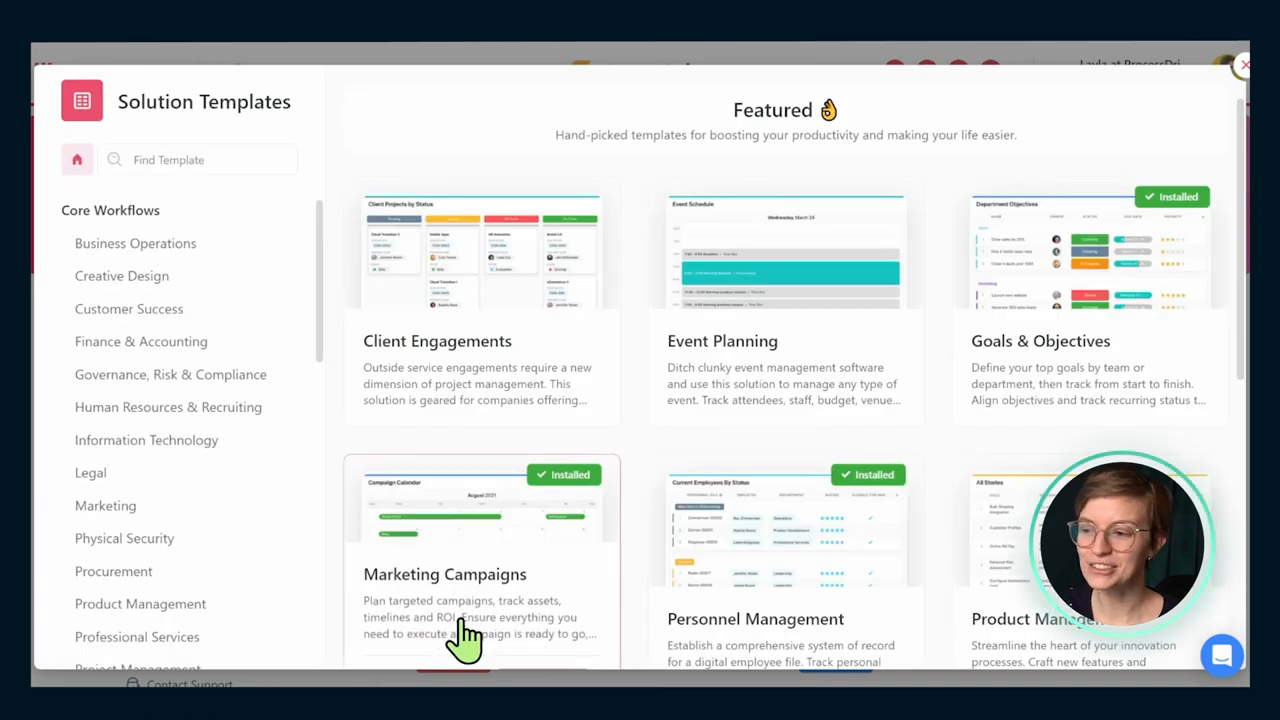
Before we dive in, log into your SmartSuite account. Got it? Great! Head on over to the "add a new solution" area – this should be familiar territory if you’ve seen our other tutorials. Here, you'll give yourself a head-start by picking a solution template.
Adapting a Template: The Ingenious Conversion from Patient to Client Management
Now, here comes a little creativity! Search "coaching" in the templates. Surprisingly, nothing? No sweat. We’ll repurpose an unexpected one: Patient Management. Trust me, it’s adaptable!
Upon loading, make the basics uniquely yours: check permissions, so it's just your eyes on the prize while editing. Customize the icon, color, and most important - a fitting name. Today, it’s all about "Client Management."
Customizing Fields: The Magic Touches for Conversion
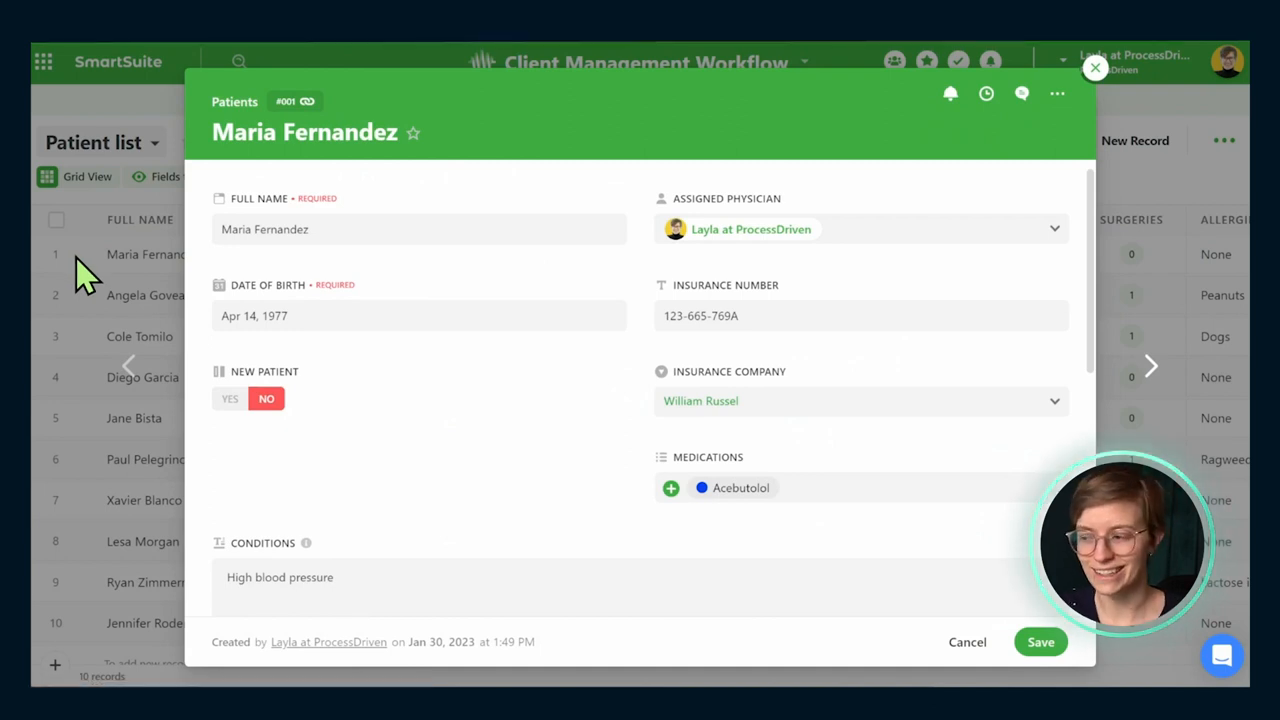
Visibility is key, pick a grid view to see everything at a glance. We’ll go through fields one by one:
- Full Name: Perfect as is, no changes here.
- Assigned Physician: Modify this to “Assigned Coach.” If it’s just you, default it to yourself. Otherwise, fine-tune permissions for your team.
- Date of Birth: Rename it to "Birthday," keeping things light and personal.
- Insurance Number: Unnecessary for us, so delete away.
- New Patient: A simple tweak to "New Client" does the trick.
- Medications & Insurance Company: Replay these with "Payment Method" to track whether clients are paid in full or in installments.
Now, about the clinical fields:
- Conditions: Rename to "Internal Notes" to document client info. Play around with permissions for team privacy if needed.
- Allergies & Surgeries: Say goodbye to allergies but transform "Surgeries" to "Challenges or Priorities" — ideal for outlining objectives and accomplishments in your coaching journey.
Connecting with Clients: Linking Priorities to Appointments
Add positivity by linking priorities to specific client discussions. Imagine an easy reference for when and where each topic was covered – now that’s organization at its finest!
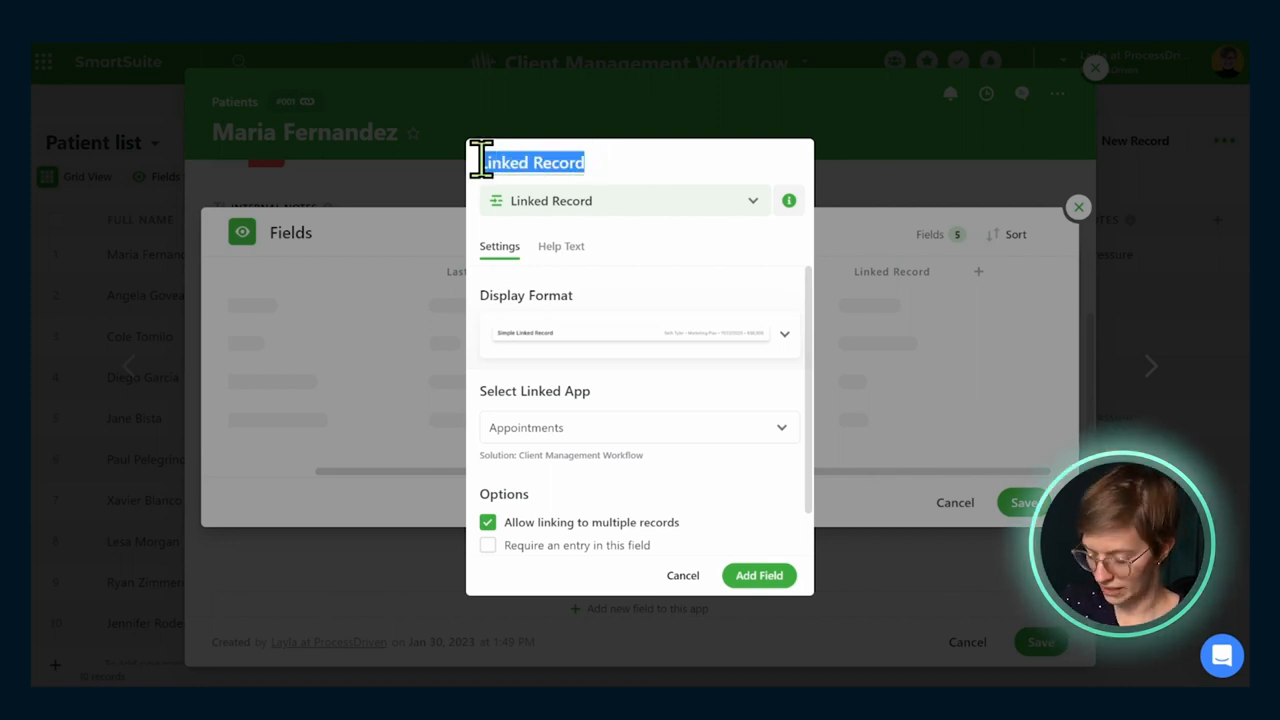
Don't forget to also link client records to their respective appointments for a seamless view of your upcoming sessions.
Renaming and Reflecting: A Finishing Touch
Seal the deal by ensuring all terms reflect the coaching world – replace “patient” with “client,” for smoother navigation.
Additional Features: Intake Forms and Integration Options
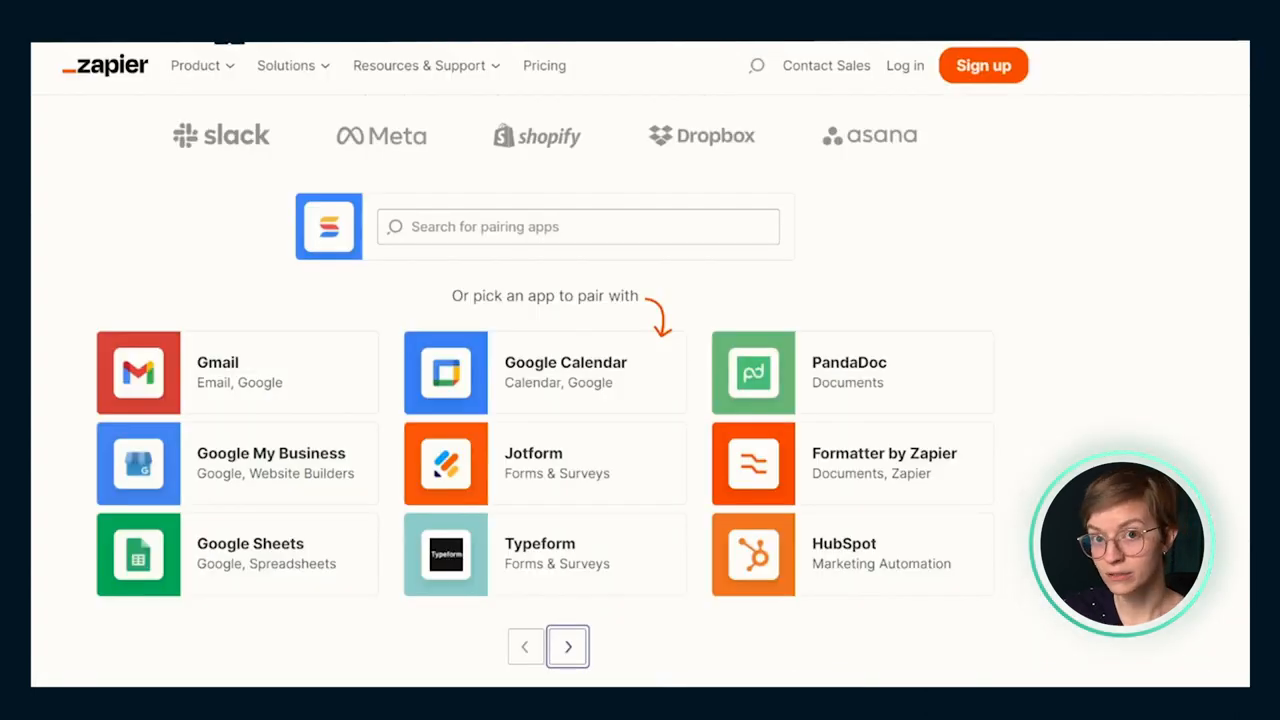
Craving more? Design an intake form system or integrate with third-party software like Typeform and HubSpot, to automate client and appointment additions further.
Wrapping Up And Looking Ahead
With these steps, converting a standard template into a powerhouse client management system is a breeze. Systematize your business to magnify your coaching impact, and ensure the most valuable resource — your time — is spent where it matters most.
SmartSuite’s versatility can be the perfect ally for managing clients and appointments efficiently. If this guide sparked your interest, check out our SmartSuite affiliate link for more details and a spin on this nifty product.


.jpg)


