


Streamline Your Projects with No-Code Forms in SmartSuite
Are you ready to take your project management and team collaboration to the next level with SmartSuite's no-code platform? SmartSuite forms provide a seamless way to gather data from team members, clients, or anyone else—without any prior coding knowledge. This step-by-step guide will introduce you to the exciting world of SmartSuite forms.
If you're just getting started and would like to delve deeper as we explore, we encourage you to start a free trial of SmartSuite and follow along.
Introducing SmartSuite Forms
SmartSuite forms are convenient and adaptable tools, crucial for businesses eager to collect data effectively. Whether it's inventory management, purchase orders, or customer feedback, the solution lies in the simplicity and customization that these forms offer.

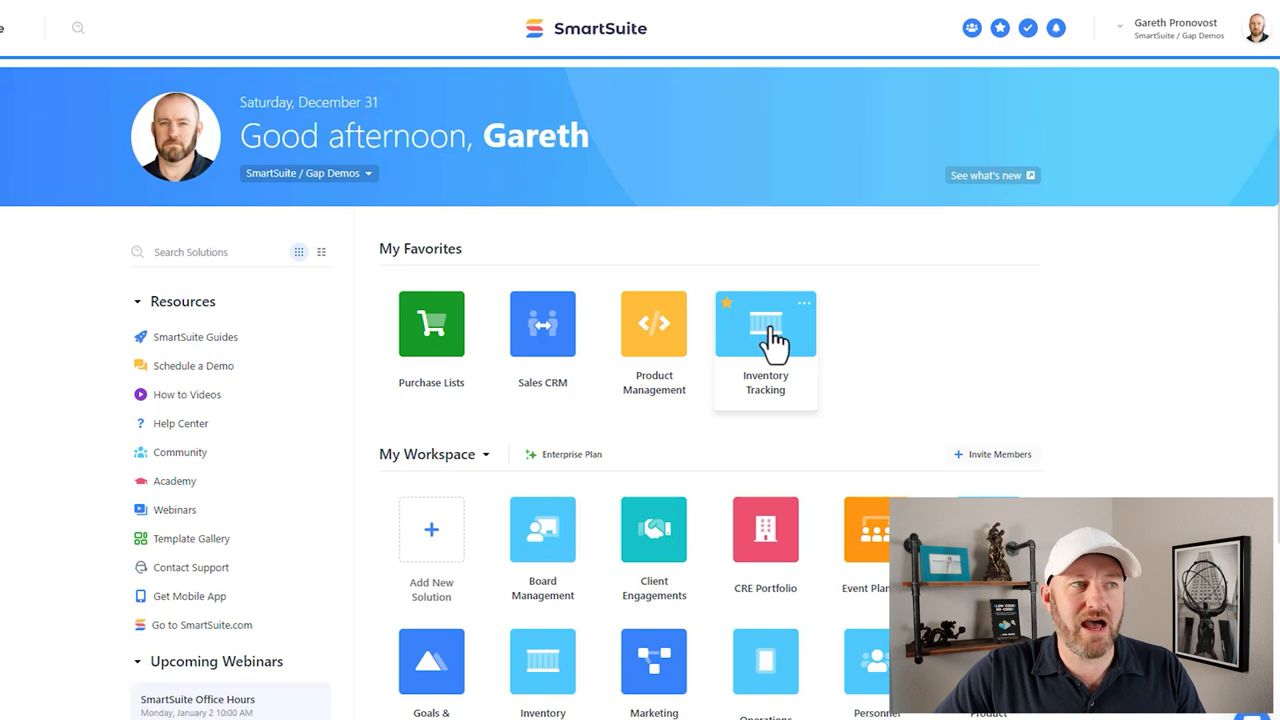
Getting Started with SmartSuite
Installing a Template
For starters, let's get our hands on a SmartSuite template. The template gallery is where you'll unlock pre-created solutions that cater to various needs. Take "inventory tracking" for example—a perfect starting point for our walkthrough.
Creating Custom Forms

Here's the part where magic happens. In SmartSuite, forms give you the power to reach out to external users for their input. With various view types at your disposal, we're zeroing in on the form view to collect data outside of the SmartSuite user base. Let’s step through the process:
- Choose a Form View: Select 'Create New View' and opt for 'Form View' to begin crafting your data-collection tool.
- Make it Yours: Customizing your form is a breeze. Upload your logo, tweak the title, and add descriptions to guide your users.
- Incorporate additional HTML blocks for those much-needed details and style elements that make your form stand out.
- Add Key Fields: Determine what information is vital for your needs. Product choices and quantity? Contact details? Select and arrange the necessary fields easily.
- Don't forget to mark essential fields as 'required' and make use of the reordering functionality for a smooth user experience.
- Guide Your Users: Enhance clarity by renaming fields and adding helpful text cues. Want whole numbers only for quantities? Say it loud and clear with help text.
- Optimize Submission: Tailor the submit button to your taste, then decide what happens post-submission. A sincere 'thank you' message or a redirect to another webpage can keep the user journey flowing.
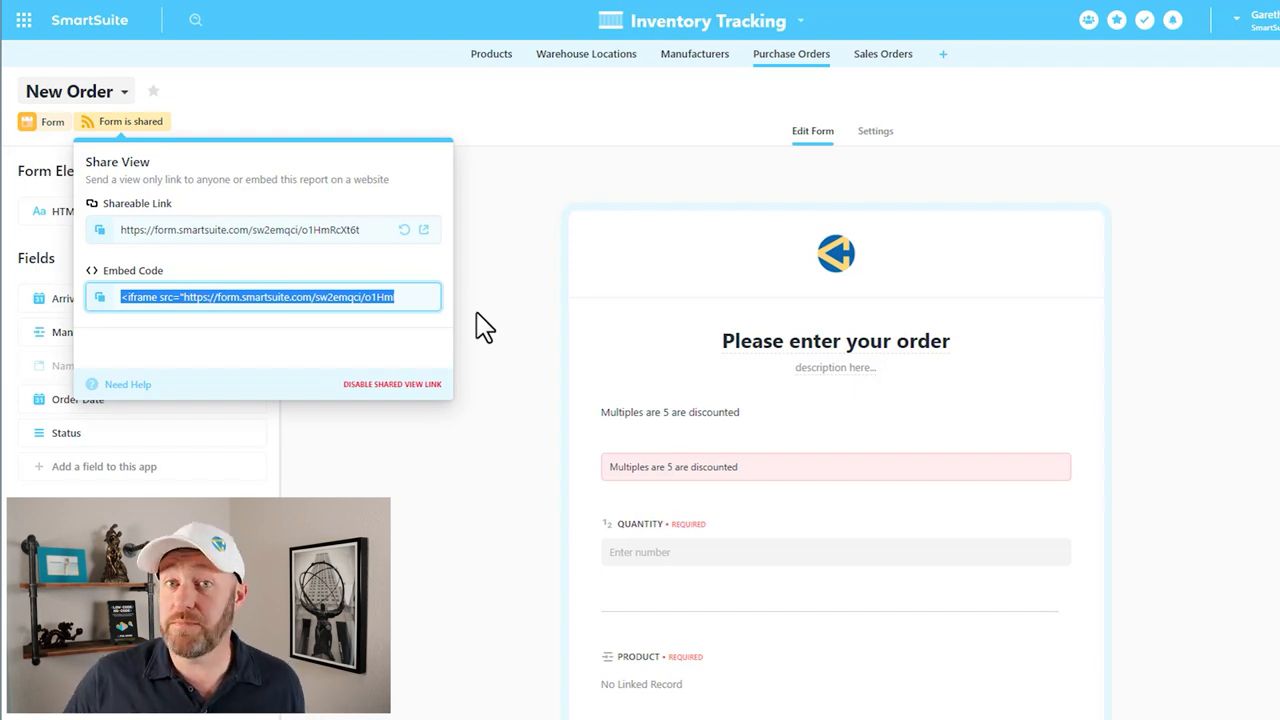
- Sharing Your Form: Once your form is up to snuff, share the link or embed it into your website. As responses pour in, they'll populate your SmartSuite app, crafting a live record of valuable data.
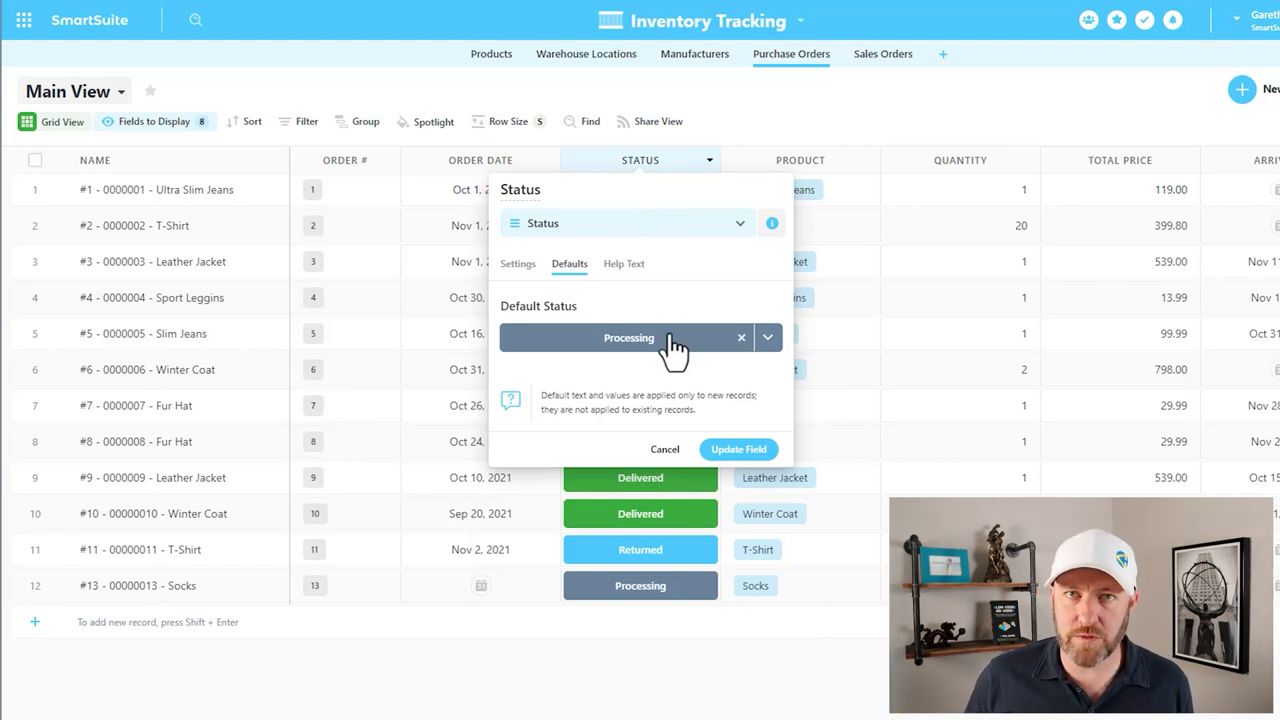
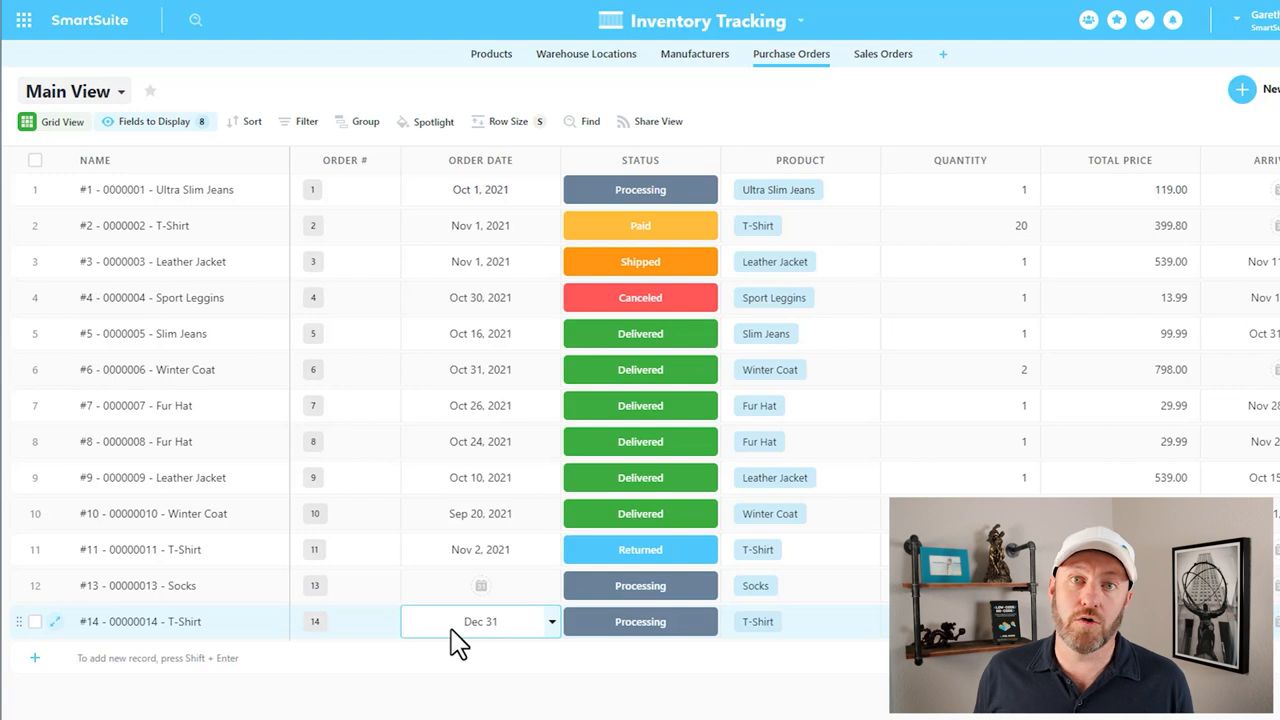
Leveraging SmartSuite Defaults
SmartSuite's edge lies within its robust defaults feature, allowing fields to auto-populate based on set criteria. Picture this—automatically assigned order dates, preset status fields—all without extra steps for the form user. It's these nuances that elevate SmartSuite above the rest.
Putting It All Together
With these tools at your fingertips, creating influential SmartSuite forms is genuinely at reach. And as you've learned today, the combination of flexibility, customization, and automation makes SmartSuite forms a unanimous choice for no-code aficionados and organizational gurus alike.
Final Thoughts
Our whirlwind tour of SmartSuite's form capabilities proves that state-of-the-art management tools can be both powerful and accessible. If you're inspired to streamline your workflow mechanizations, take the leap with SmartSuite's free trial.


.jpg)


