


In the fast-paced world of business management, tools like SmartSuite have become indispensable due to their no-code flexibility and ability to streamline operations. Yet, one common hurdle you might face is integrating data from various sources into your SmartSuite setup. That's where we come in. Today, we're going to unpack two straightforward methods to feed your data into SmartSuite, ensuring your information is as organized and efficient as possible.
Understanding Data Import Types to SmartSuite
First, let's discern the type of data you're looking to import. Do you have a one-time bulk data set ready for action? Or perhaps you're expecting a continuous influx of information needing real-time import? The approach for each scenario differs, and we're here to guide you through the specifics.
Method 1: Bulk Data Import
When your data is locked and loaded in a CSV file, ready for a mass transfer, SmartSuite affords you an intuitive import process. A pro tip before you begin: ensure your data file has headers—it’s a small step, but a giant leap for a smoother import.
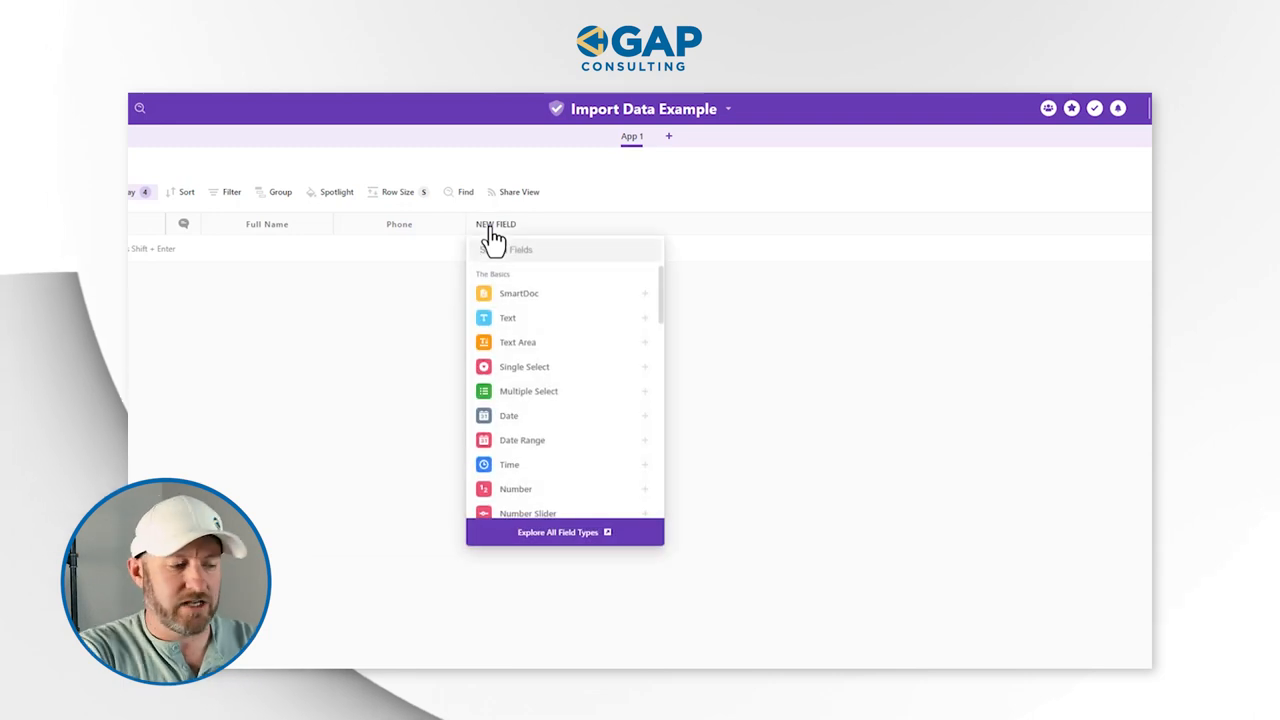
Open the doors of your SmartSuite and prepare a welcome mat for your data. Eliminate unnecessary fields, stir in the new ones you'll need (think names, phone numbers, email addresses), and you have the perfect recipe for an organized database.
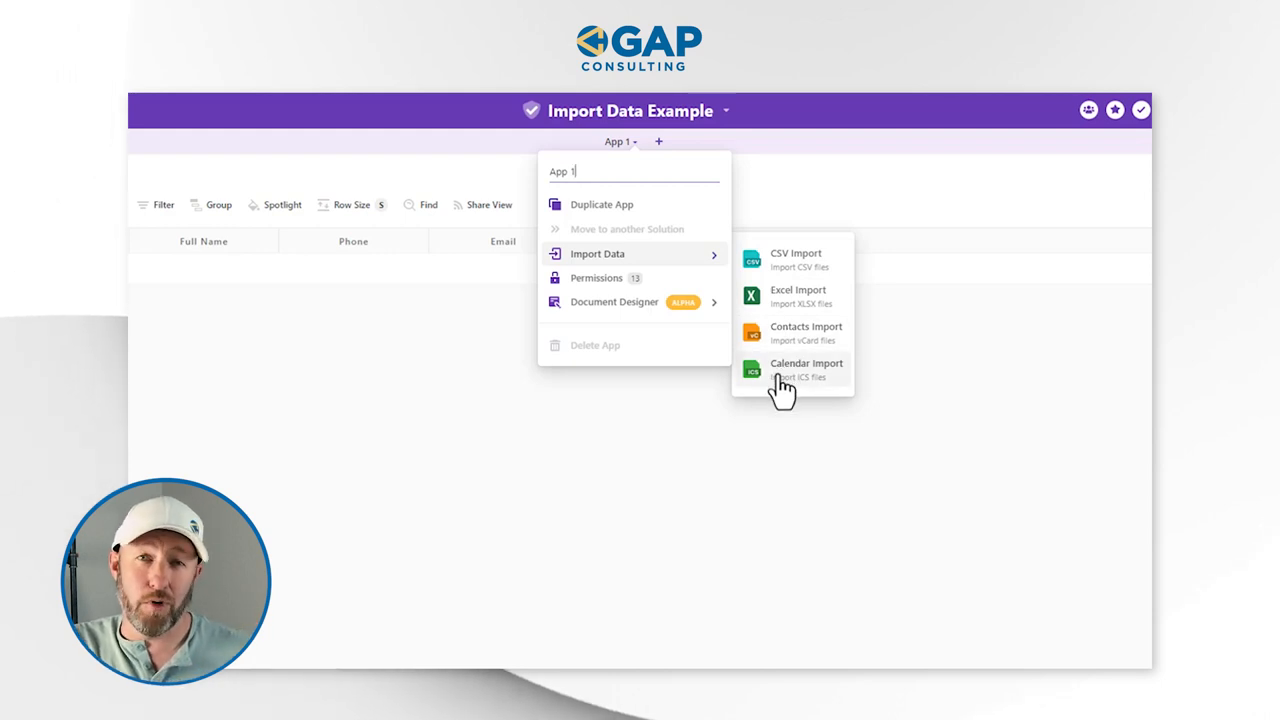
Got your fields in place? Great! Now, it's as simple as choosing 'Import Data' from the application menu. SmartSuite can handle CSV files, Excel, contacts, and calendars, but we'll focus on CSV here. Just locate your file, map the columns to your freshly baked fields, and presto—the import magic happens.
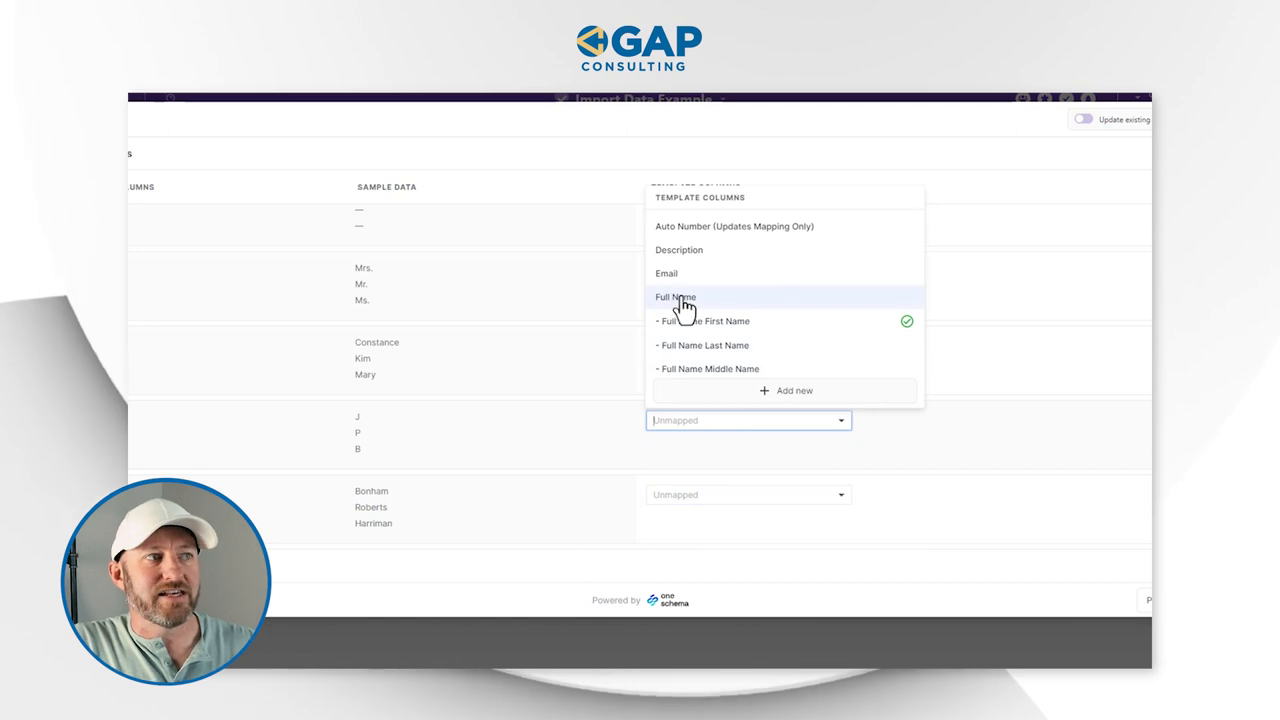
To stay tidy and trim the process, you might want to shed those extra columns you don’t need before import—your future self will thank you. Alternatively, take a shortcut and delete unneeded fields directly in the import interface, but brace yourself; it could be a marathon if your CSV is chock-full of columns.
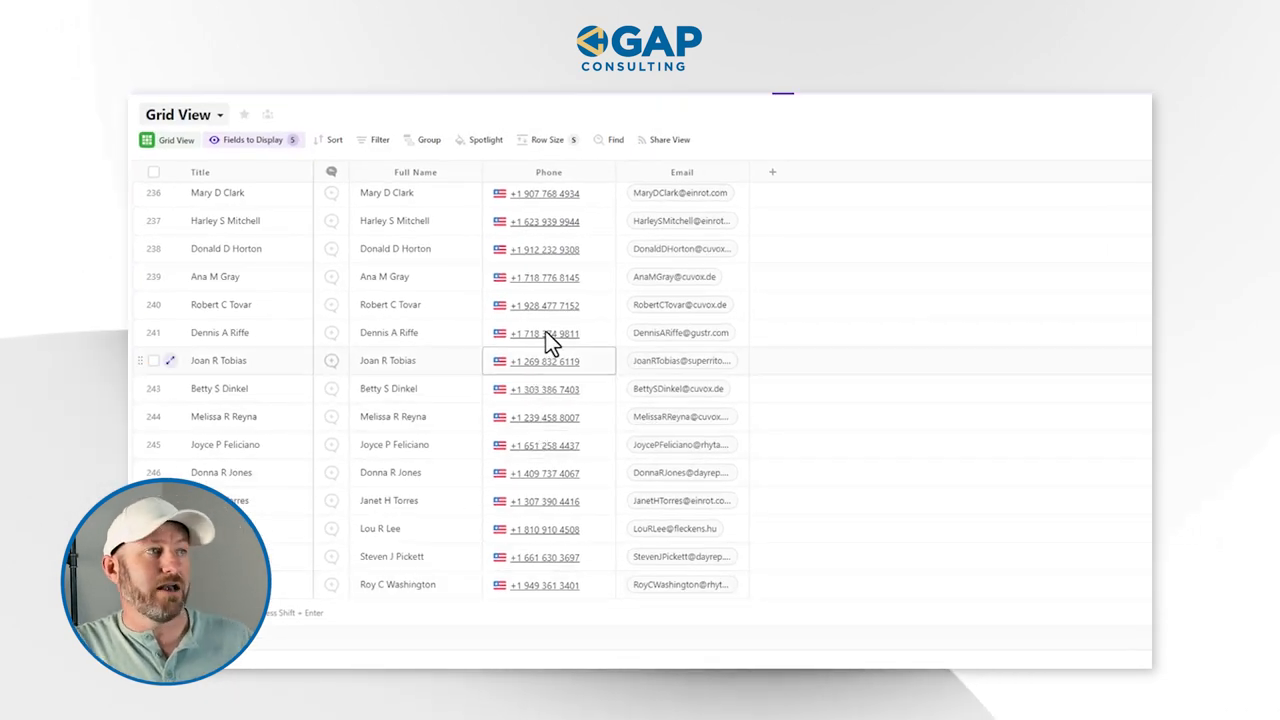
As your data cascades into your SmartSuite application, relish the sight of neatly organized records leap from your CSV to their new digital home. And for the data you've gathered over time, remember to activate the 'update existing records' option to keep your database fresh without duplications.
Method 2: Ongoing Data Import
Ah, automation—the cherry on top of no-code solutions. Though native automations within SmartSuite are on the horizon, the current workaround is as sleek as third-party automation tools like Zapier. Let's say your pool of data lives in Airtable; you want it reflected in your SmartSuite in real time. Zapier is your go-to bridge for that data stream.
- Create the bridge: Start by setting up a 'Zap'—a pipeline between Airtable and SmartSuite. When a new entry hits Airtable, it should automatically replicate in SmartSuite.
- Make the connection: Verify your Airtable data, then pick the relevant SmartSuite application where you want the record to land.
- Direct the flow: Map the Airtable fields to their SmartSuite counterparts. However, keep an eye out for field compatibility. Should you encounter a hitch, a simple field type tweak can keep the automation on track.

Boom! Like clockwork, data from Airtable will populate your SmartSuite records as they roll in. Be sure to cross-check this new entry to ensure your setup is perfected to your liking.
Sealing the Deal
There you have it—a full-fledged guide to ease your data migratory woes, whether you're importing in bulk or setting up a continuous stream. Your workflow can be more integrated and automated with SmartSuite at the helm.
Ready to experience a seamless orchestration of data? Start your free trial of SmartSuite today, and gain the power to manage your business data effortlessly, regardless of where it originates.


.jpg)


